Making espresso at home with a bottomless portafilter
Tips for beginner home baristas

The rise of making espresso at home brought the bottomless portafilter — otherwise known as a naked portafilter — into the spotlight. It’s hard not to notice those delightful espresso pulls onto your social media feed, isn’t it? If you’re still unclear as to what a bottomless portafilter actually does or why it’s any different, we hope this article comes in handy!

The best and worst case scenarios you can expect from a bottomless portafilter
What a bottomless portafilter does is, by having the classic spouts removed, it allows you to observe the flow of the espresso as it’s being extracted, detect and, later on, correct any issues. This wouldn’t be possible while using the traditional portafilter with spouts — since it has a closed view, you can’t entirely figure out how the espresso extraction process is really going.
Best case scenario with a bottomless portafilter
When everything is done right, the espresso should come out smoothly and evenly, and converge into a beautiful stream at the bottom of the basket. This is when you have that unobstructed view of the espresso extraction and can observe any issues. By taking note of these, you can improve your puck prep routine, to produce even better results and a more consistent shot of espresso.
Worst case scenario with a bottomless portafilter
If you notice a significant unevenness in the way the espresso flows, any sputtering or spraying, you may need to have a closer look — think grind size, as well as how the coffee was distributed and tamped. During an espresso extraction and the pressure that comes with it, the water will follow the path of least resistance. If the grind size is significantly off, or the coffee has been improperly distributed or tamped, that will cause the water to flow unevenly — it will look for weak spots and imperfections in the coffee bed, through which it can pass quicker and more easily.
This common issue is what we refer to as espresso channeling and it can oftentimes create a mess. In addition, since some coffee grounds will have more flavor extracted and others less, you’ll end up with a shot of espresso that tastes far from ideal. For key tips on how to prevent espresso channeling, you may find the article here helpful.


Common questions about using a bottomless portafilter
Now, let’s address some of the most common questions surrounding the use of a bottomless or naked portafilter when making espresso at home.
Does a bottomless portafilter make better espresso?
Opinions on this subject seem split currently. If you’re curious, my recommendation is to try both, brew your espressos side by side, taste and judge for yourself. It can be a matter of personal preference. In my experience, I find my espresso to be smoother when I make it using a bottomless portafilter.
Does a bottomless portafilter make more crema?
Because the espresso shot only comes in contact with the bottom of the filter basket — so no contact with the spouts — some claim this keeps the bubbles intact, and the crema turns out more rich and fluffy. I haven’t come across any empirical evidence to support this, so I encourage you to try both and see if you’re able to pick up a significant difference.
What are the disadvantages of a bottomless portafilter?
Definitely your espresso spraying, splashing and spurting, which can be overwhelming, especially if you’re a beginner home barista.
That said, if you’re just starting to make espresso at home, I recommend using a regular portafilter, until you become more knowledgeable and comfortable with the whole process. This way, even if you don’t tamp evenly every time and the coffee is not yet perfectly distributed, at least you can still enjoy your first steps in brewing espresso at home, as opposed to cleaning up the mess.
Once you get more familiar with the proper espresso workflow and your results start improving, switching to a bottomless portafilter will be a much more rewarding experience!
Reasons to upgrade to a bottomless portafilter
As mentioned above, I’d recommend upgrading to a bottomless portafilter if you’re a more experienced home barista or coffee enthusiast, looking to learn and further improve your espresso brewing skills. The reason why I upgraded to a bottomless portafilter was, besides aesthetics, related to espresso troubleshooting.
Consistency between espresso shots
Having the basket exposed during the espresso extraction allows you to observe the entire process and improve your puck prep routine — setting the right grind size, uniform distribution of the coffee grounds in the basket, even tamping — prior to running the espresso shot. This can help you become more efficient, reduce waste and, above all, achieve more consistency from shot to shot.
Cleanliness & maintenance
In the case of a regular spouted portafilter, a lot of oils and coffee residue get stuck underneath the filter basket and above the spouts, which can get out of hand without dedicated cleaning on a daily basis. It’s a lot quicker to clean a bottomless portafilter, since you don’t have that many options for residue to collect and build up. For example, you can easily rinse the basket with hot water from the brew group and carefully wipe it clean before every new shot of espresso.
Tip for when you’re looking to buy a bottomless portafilter
As you may have noticed already, not all portafilters are the same and sizes may differ across espresso machine manufacturers.
For example, most of the De’Longhi machines use a 51mm portafilter, while many of the home espresso machines from Sage and Breville use a slightly larger size of 54mm (except their Oracle, Oracle Touch and Dual Boiler models). In comparison, other machines you’ll find on the market come with a commercial size portafilter of 58mm. So, before you commit to a purchase, take note of exactly the size and specifications of your espresso machine, to make sure your new bottomless portafilter is fully compatible with it.
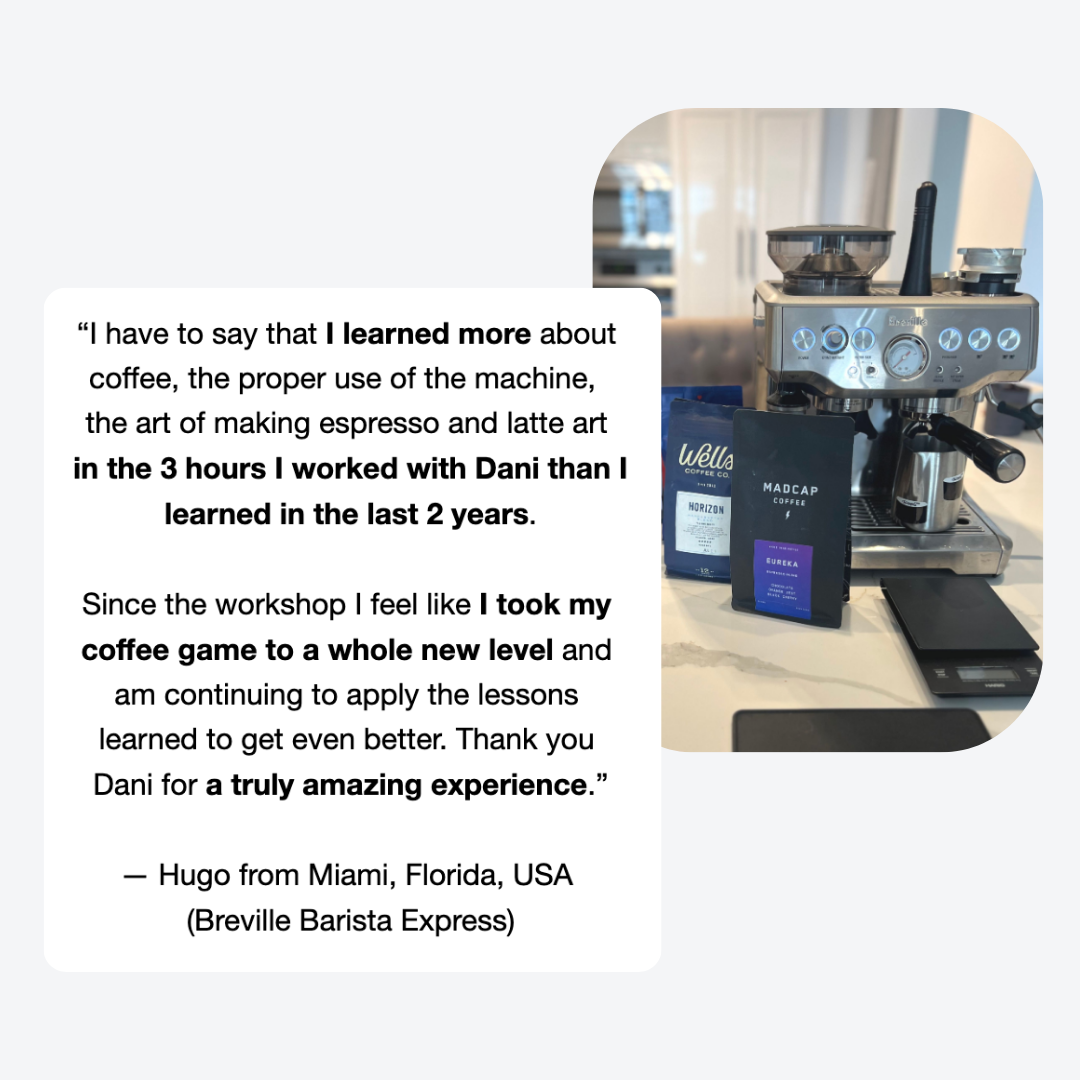
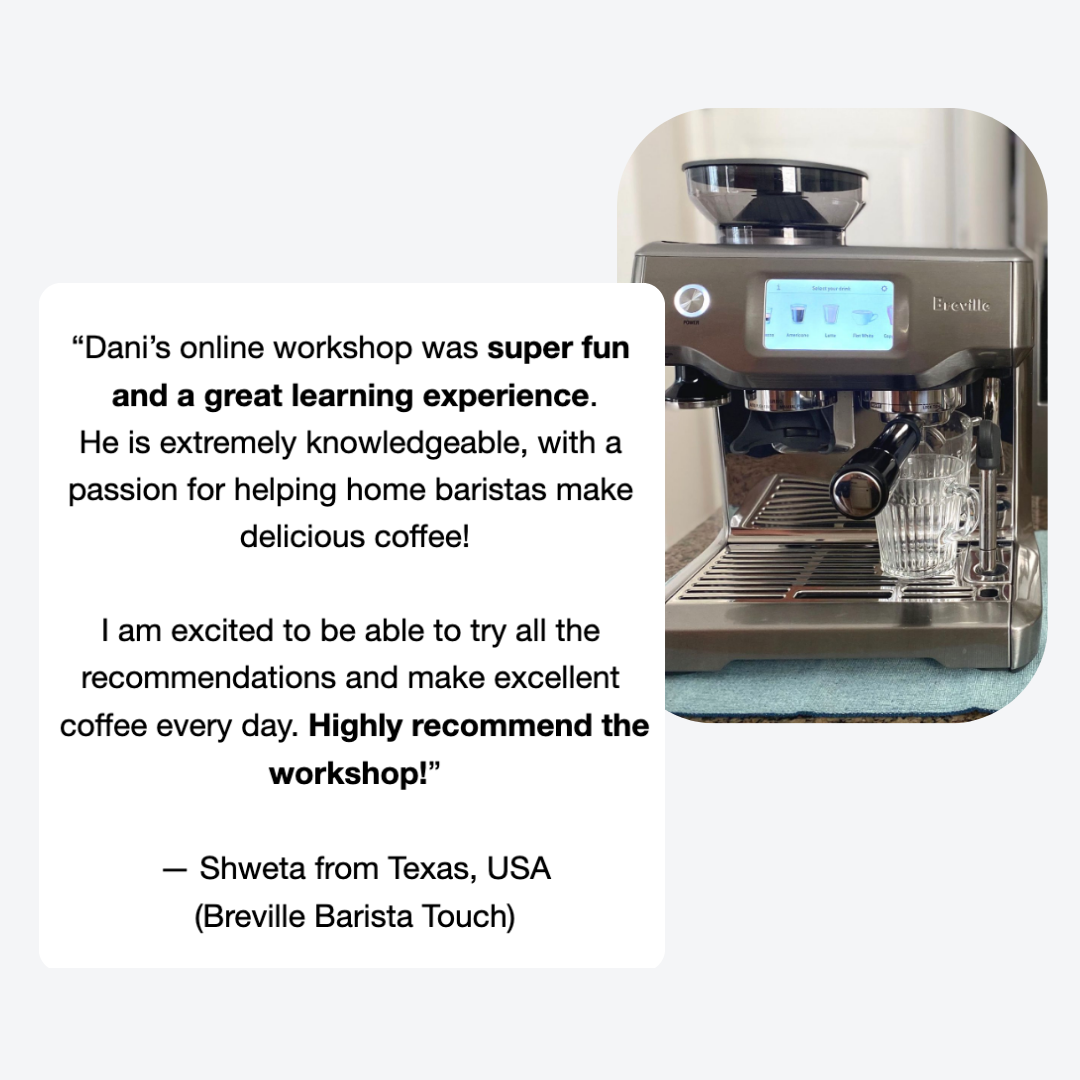
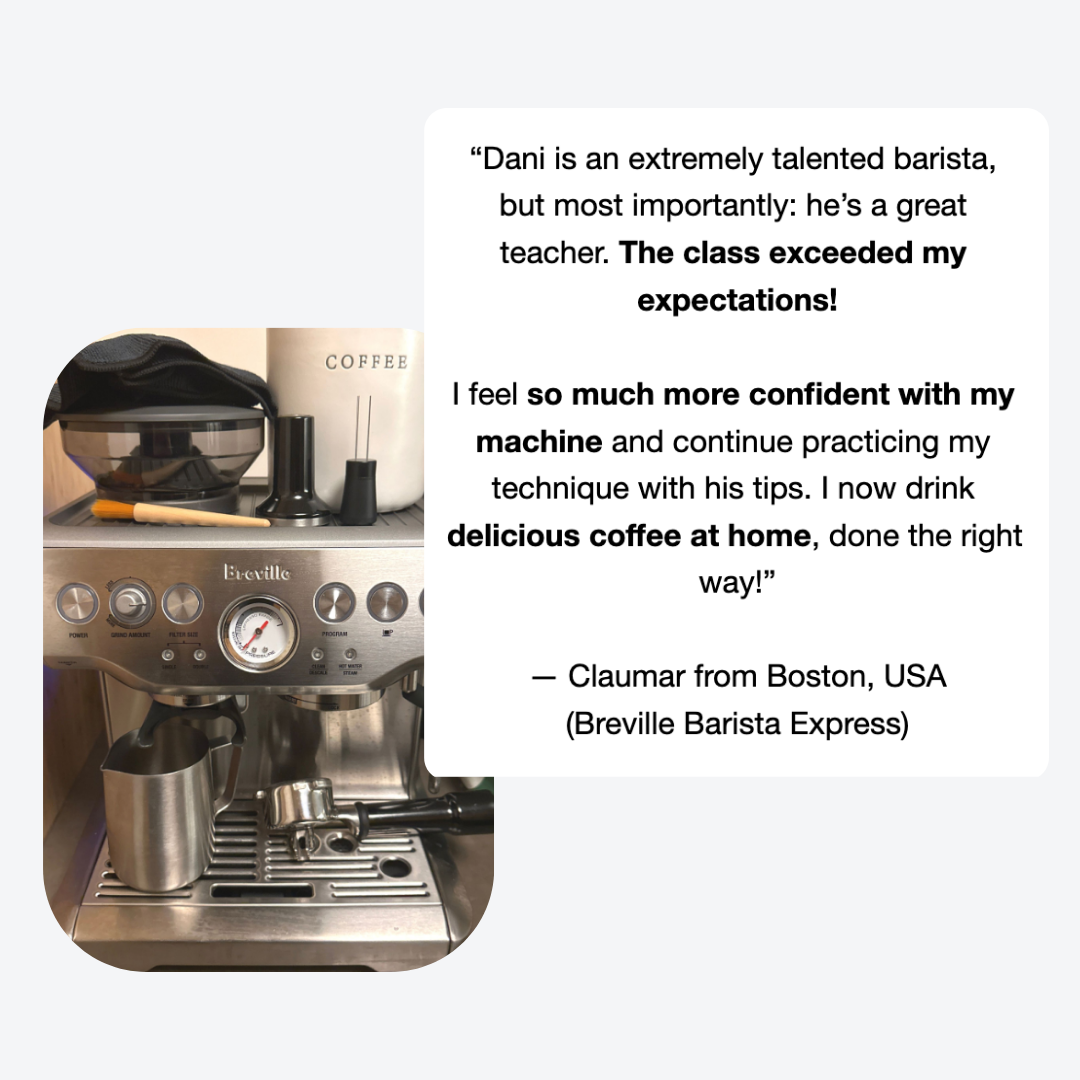
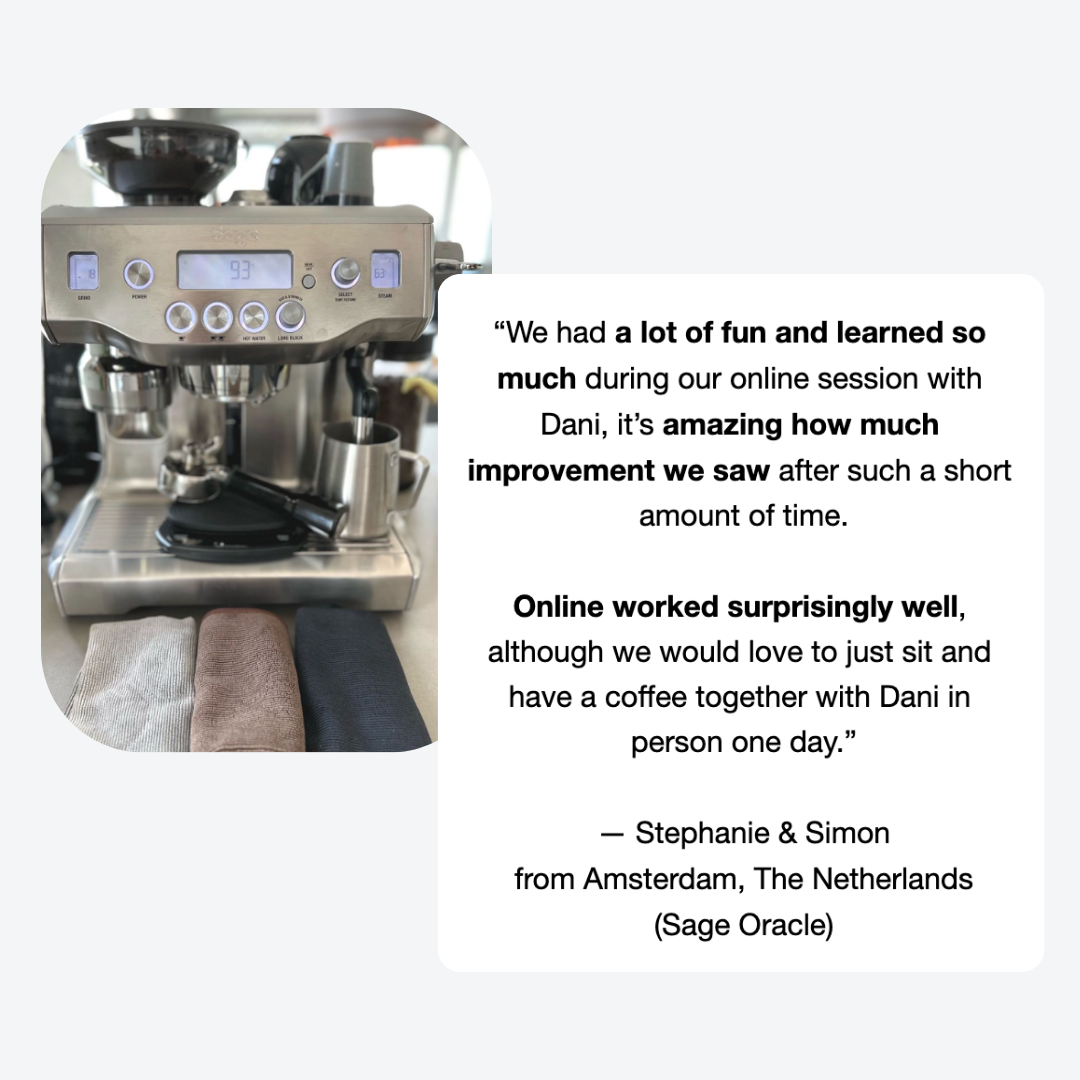
I hope you find these tips helpful and, if you’d like to dive deeper, you may consider our espresso and latte art home barista workshops. Happy brewing!