How to steam milk on the Breville / Sage Barista Express
A 6-step guide for home baristas

The Breville / Sage Barista Express is one of the most popular entry-level home espresso machines, by now ubiquitous in many households around the world. It’s not an easy machine to master — especially considering the slow steam pressure and single-hole steam wand. But, if you go through the learning curve and practice enough, I believe it can produce some great tasting café-quality milk coffees at home.
Becoming familiar with this machine and getting to understand how its steam wand works will help you avoid the frustration and steam milk to the perfect consistency every time. The guide below is meant to walk you through my own milk steaming process on the Barista Express, including a handful of key practical tips based on my experience of using this home espresso machine for years now!
A 6-step guide to steam milk on the Breville / Sage Barista Express
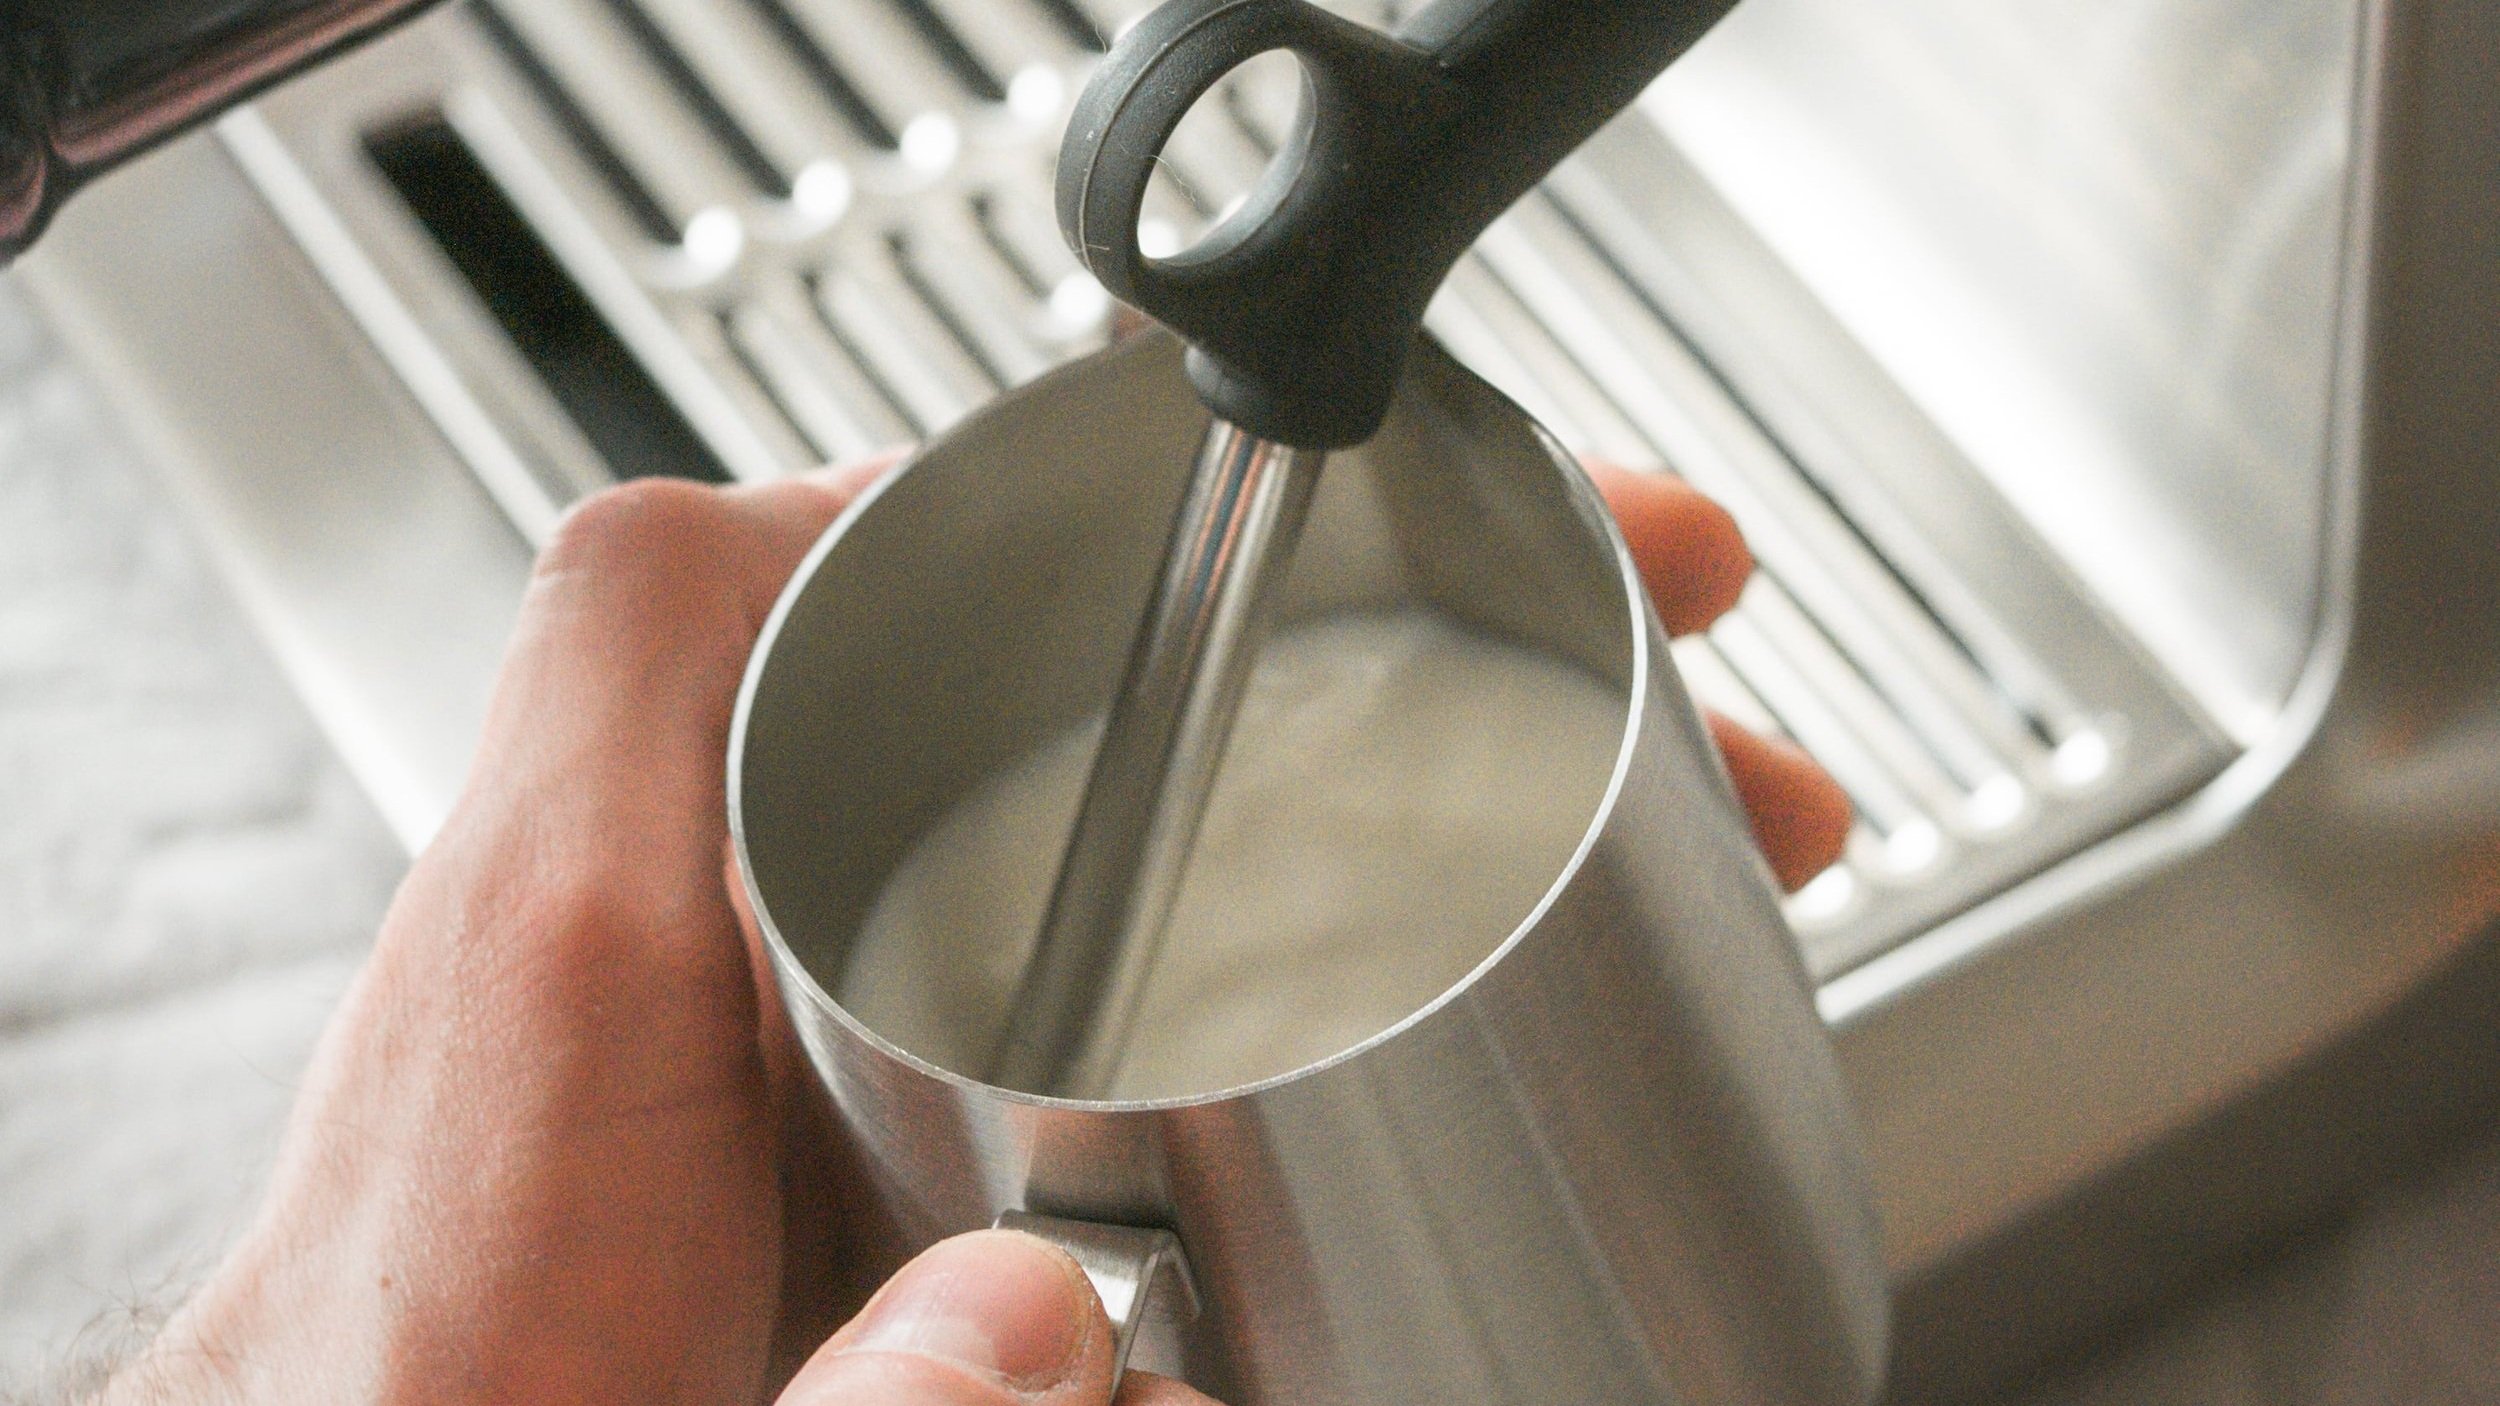
So, let’s say I’ve already pulled my espresso shot. I’ll place the cup to the side, fill up the pitcher all the way to where the spout begins and now I’m ready to steam the milk.
Step 1 — Purge the steam wand before starting to steam milk
Before kicking off the whole process, purging the steam wand is a step I always recommend doing. This will get rid of any condensation buildup inside the wand. Plus, especially in the case of the Barista Express, it will allow the machine to get up to pressure. Now, turn the steam on and wait for the machine to get up to pressure.
The “Steam / Hot Water” light will flash to indicate the machine is heating up to create steam. When the machine creates steam, a pumping noise can be heard. Don’t worry, this is normal.
When the “Steam / Hot Water” light stops flashing and there’s a strong flow of steam coming out of the wand, the machine is ready to use for steaming. At this point, quickly turn off the steam, bring the milk pitcher in place and turn the steam back on.
Important! If you don’t turn off the steam when placing the wand into the milk, you’ll introduce very large bubbles and the milk will likely splash everywhere, creating a mess.


Step 2 — Introduce air into the milk
To slowly introduce air into the milk:
Place the steam wand 1 - 2 cm away from the wall of the pitcher (this will help with getting a vortex going)
Start with the tip of the wand right below the surface (so it doesn’t allow any air in at the start)
Once the steam is turned on, slowly and gradually lower the pitcher until the tip of the wand reaches the surface, it makes a tearing / ripping sound and you start to see air being introduced. You want to continue lowering the pitcher, in small steps, for about 5 - 8 seconds, to ensure sufficient air is being introduced.
Remember:
If the wand is submerged too much — you won’t create enough foam and the consistency of the milk at the end will be thin and runny. To correct this, keep lowering the milk pitcher further, this will let more air in.
If the wand sits too high above the surface — the aggressive injection of steam will introduce very large bubbles and create a heavy layer of foam on top. To avoid this, you need to raise the milk pitcher ever so slightly, so the steam wand reaches further down into the milk.
This stage involves some trial and error, until you get the hang of it. You’ll need to make small adjustments until you find that sweet spot, where the tip of the steam wand sits right at the surface and gently lets air in.
Step 3 — Get a vortex / whirlpool going
Especially in the case of the Barista Express, a gentle introduction of air and getting a vortex / whirlpool going from the beginning are absolutely crucial and very often overlooked by most beginner home baristas.
Once the air introduction stage is underway, the milk will start a circular movement in the milk pitcher, commonly referred to as milk vortex or milk whirlpool. It will be slow at the beginning and gradually pick up pace. The vortex / whirlpool has a very important role — it mixes in the air bubbles and helps you achieve that beautiful glossy milk texture.
Creating the whirlpool may take some practice. What I find to help the lower pressure steam wand of the Barista Express create a whirlpool: position the wand between the center and the wall of the milk pitcher, and slightly tilt your pitcher, to get to that rolling movement. I recommend playing with the positioning until you find something that works well for you. Once you have it, keep a steady grip on the milk pitcher and maintain it all the way throughout. This will make for a perfect silky milk!
Step 4 — Stop the introduction of air
Once it’s starting to get warm, raise the milk pitcher back up to bury the steam wand in the milk and stop the introduction of air. For the remaining part of the steaming process, you want to maintain a steady whirlpool until you reach your desired milk temperature.
Step 5 — Turn off the steam wand
When you’ve reached your ideal milk temperature, turn off the steam wand, then immediately proceed to wiping down and purging the wand.
What I noticed from steaming milk extensively with the Barista Express espresso machine: even though you twist the knob to turn the steam wand off, there’s still some residual steam coming out of the wand. To avoid spraying air into your already perfectly steamed milk, I recommend that you keep the milk pitcher in place for another 1 - 2 seconds before you go ahead to remove it altogether.
Step 6 — Purge the steam wand immediately after steaming
As part of the daily cleaning and maintenance routine of your home espresso machine, I strongly recommend making sure to purge the steam wand immediately after steaming milk. Purging your coffee machine’s steam wand helps keep it clean, preventing any milk residue and bacterial buildup.
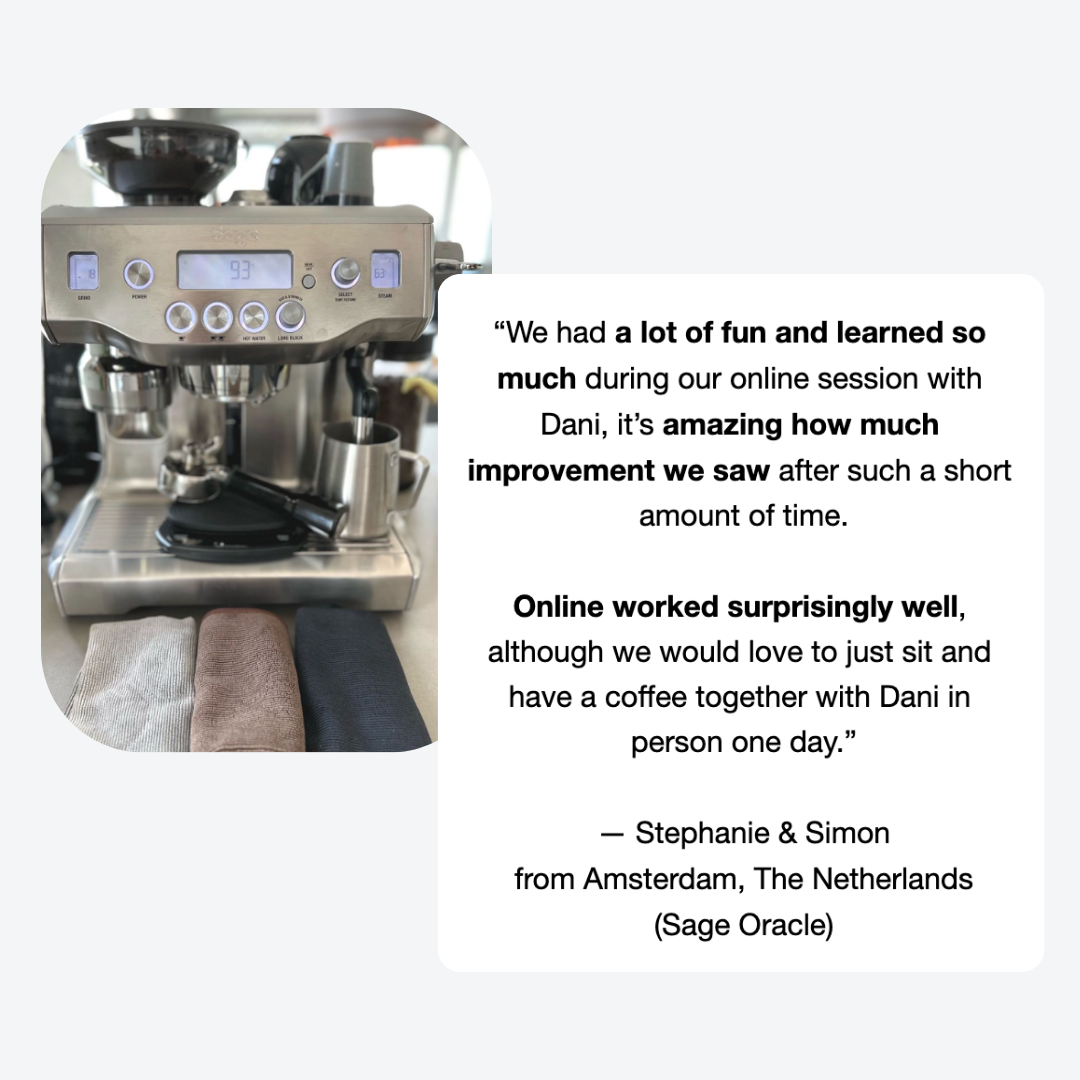
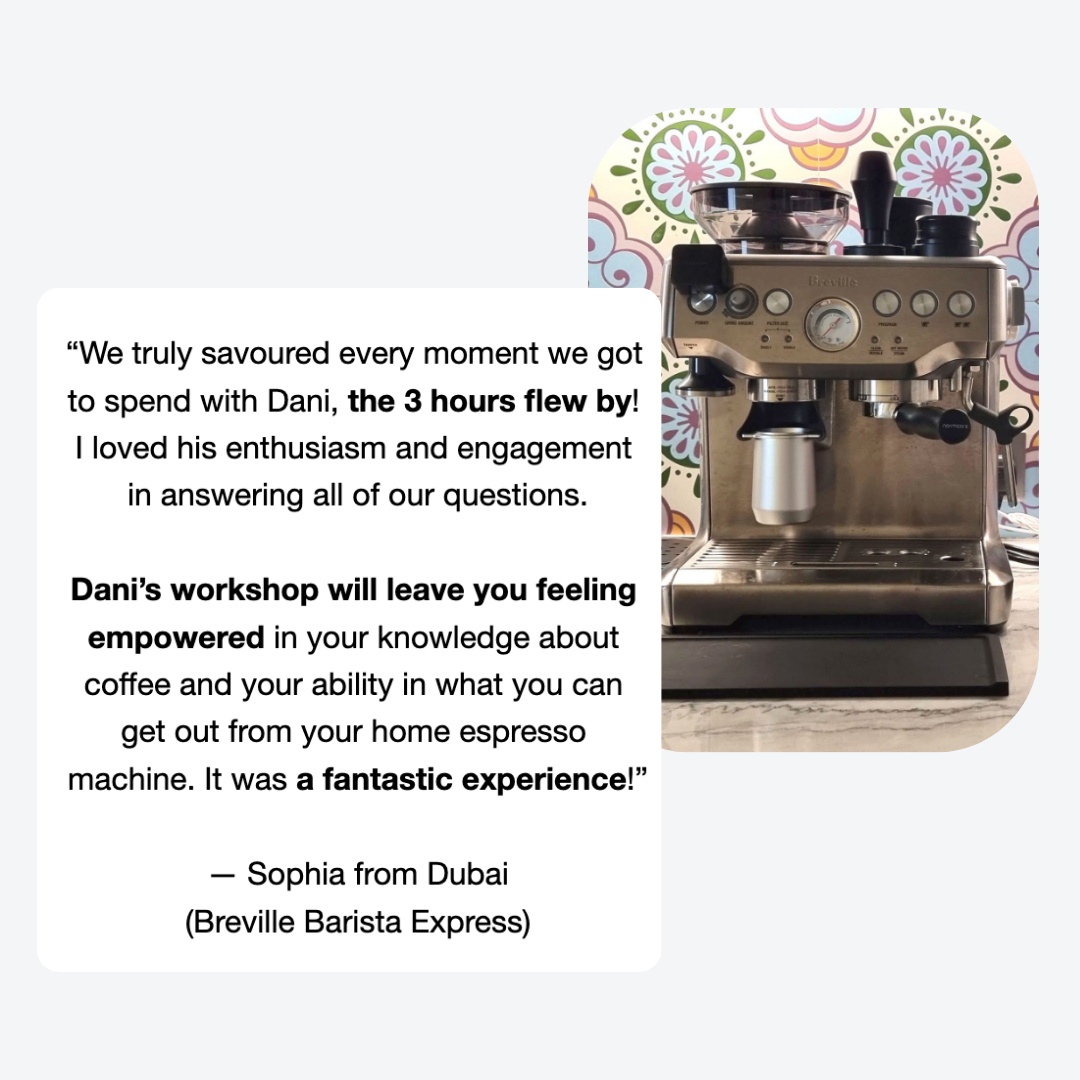
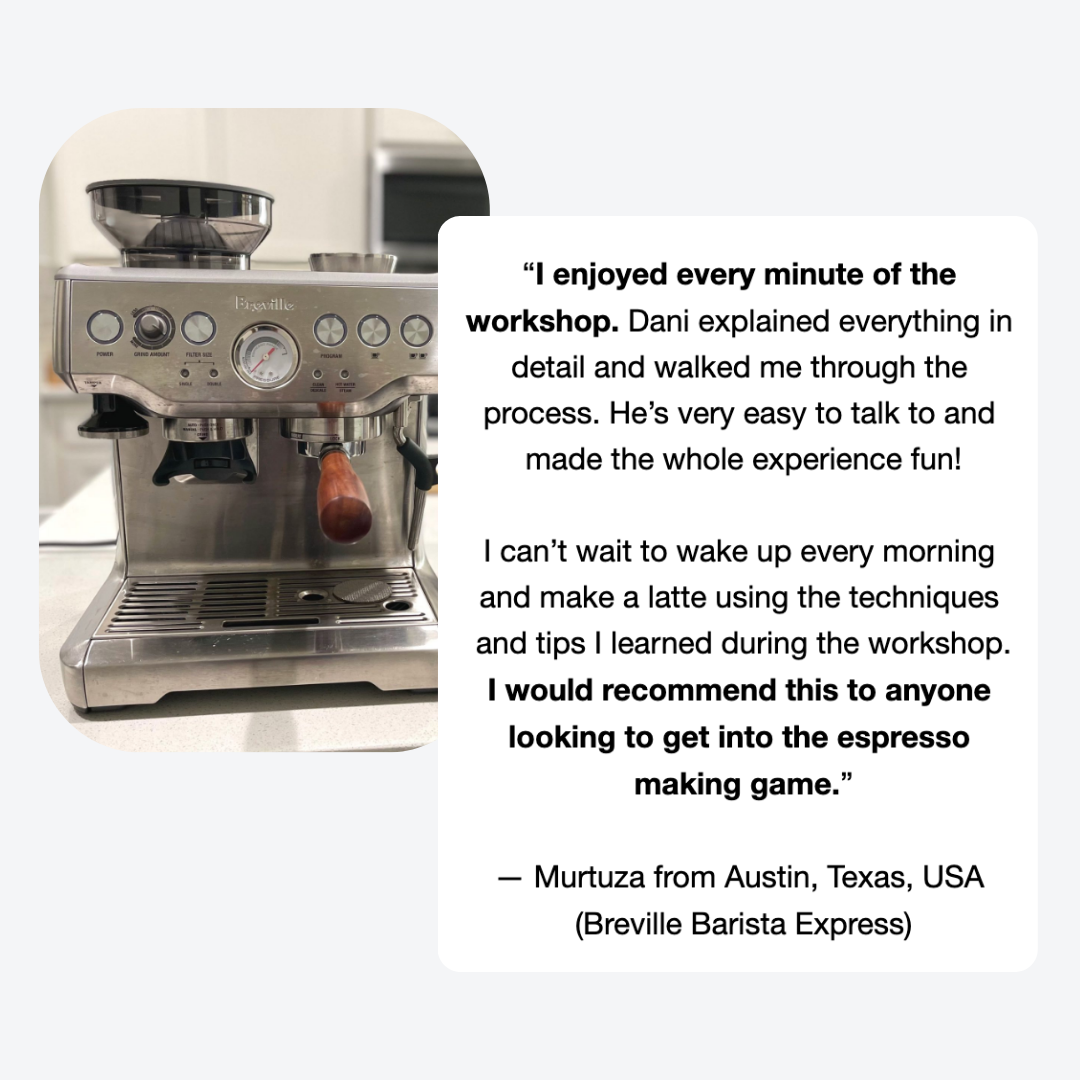
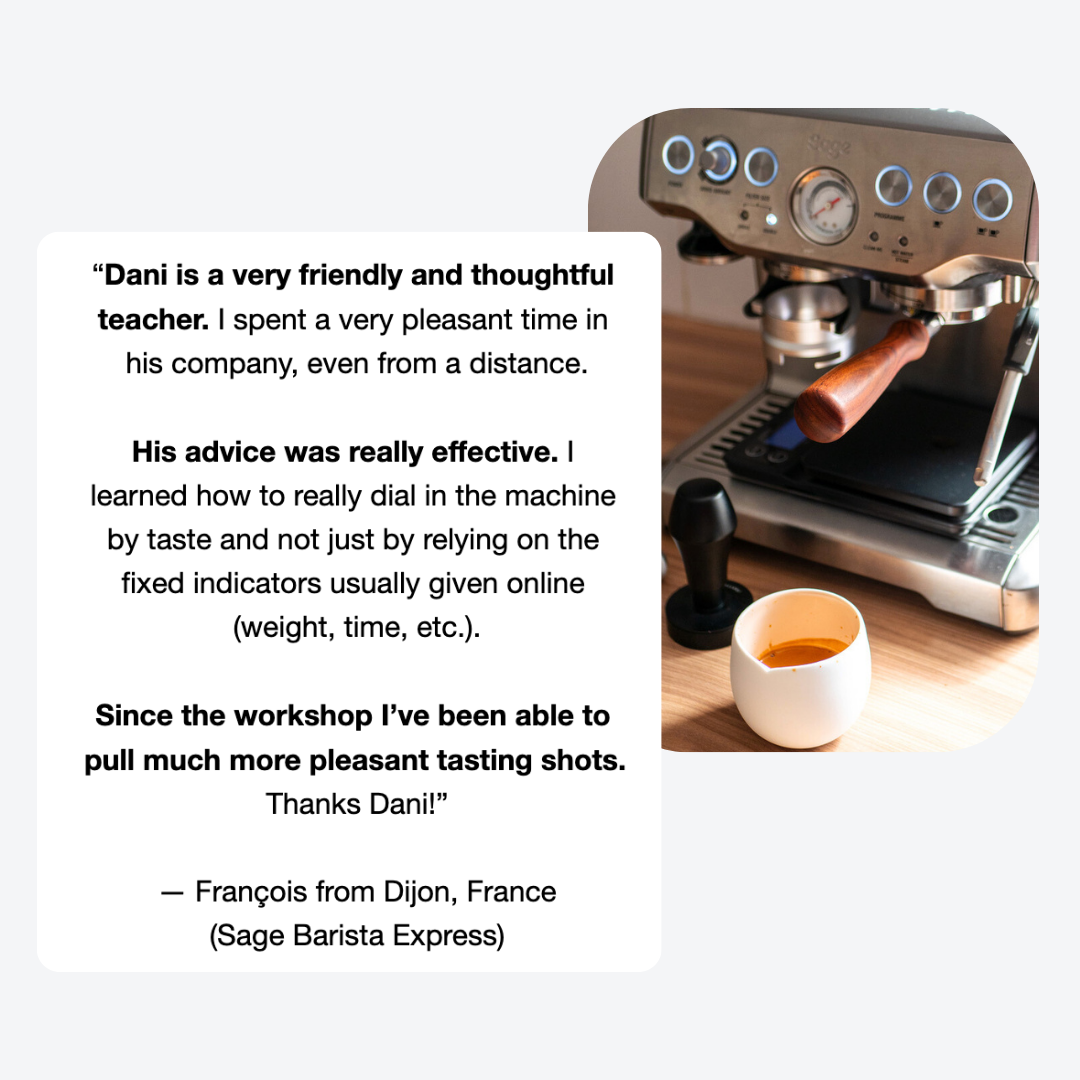
I hope you find these tips helpful and, if you’d like to dive deeper, you may consider our espresso and latte art home barista workshops. Happy brewing!