How to make espresso at home with a new bag of coffee beans
A simple guide for home baristas

The first milestone in your journey as a home barista is getting accustomed to your home espresso machine, understanding the features and workflow, and putting all that information together in order to start making espresso at home.
Understandably, this requires a certain amount of research, patience, trial and error. But, I hope we can agree that once pieces start falling into place, it’s a very exhilarating and rewarding feeling!
The second milestone is when you get a new bag of coffee beans and you’re trying to figure out how to make the best espresso out of it. The objective is not only to be able to produce a great tasting cup of espresso, but to try and do so in the most efficient way possible, meaning reduce waste while at it. It’s disheartening to finally get to the ideal recipe, only to realize you’ve reached the bottom of your newly purchased bag of coffee beans.
Keep in mind, not all coffees are the same. Coffees are cultivated, harvested and processed in various parts of the world, and roasted differently. This is why, when swapping coffee beans in the hopper, it’s absolutely normal to have to make adjustments.
The tips below are applicable to all home espresso machines, but if you’d like to know more about how to dial in espresso on a Sage or Breville, see:
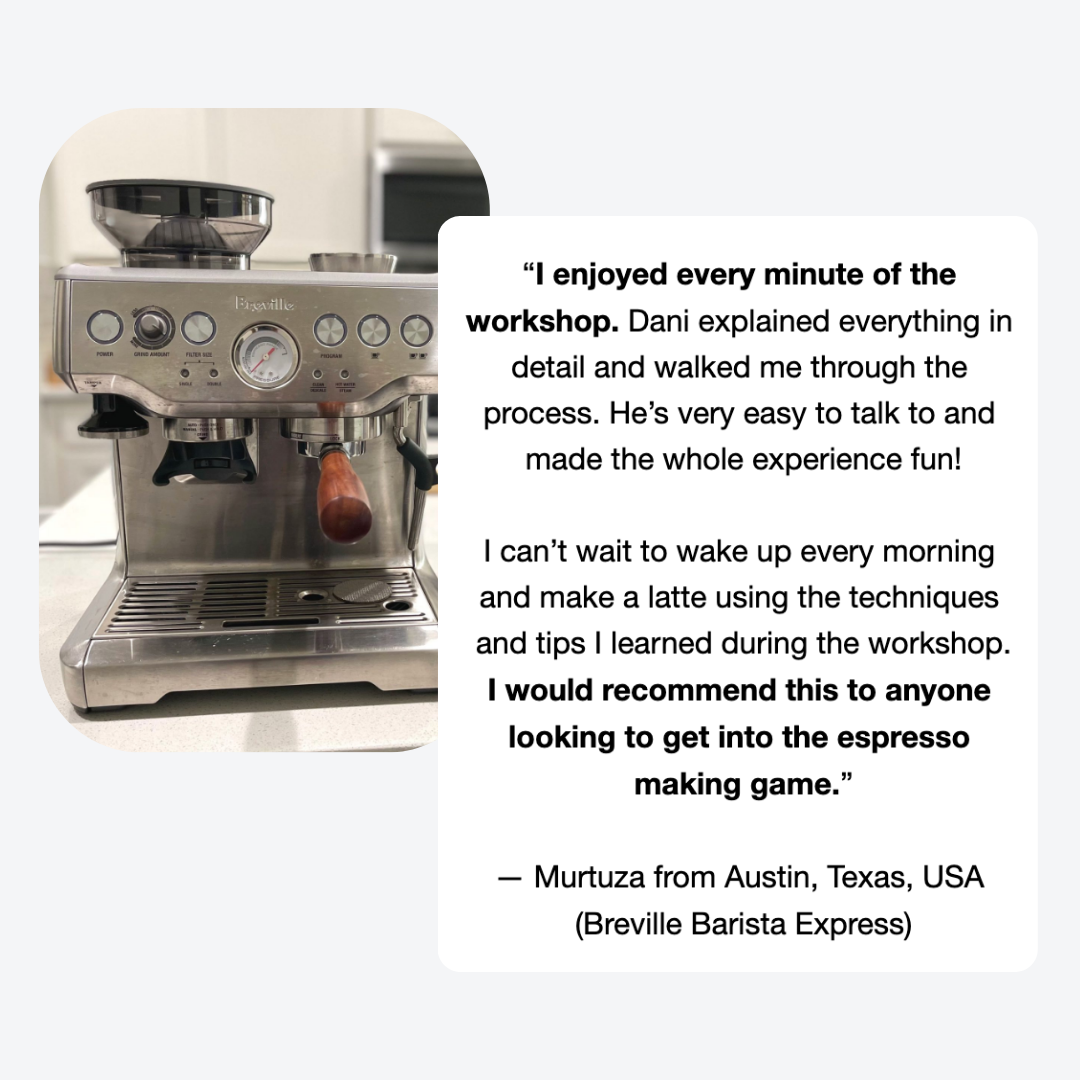
blogpost here for How to get the most out of the Sage or Breville Barista Express
blogpost here for Easy checklist before making espresso on the Sage or Breville home espresso machines

How to make espresso at home with a new bag of coffee beans
To keep things simple and, as much as possible, applicable across most home espresso machines, let’s consider to work with:
a dose of 18 grams of ground coffee
a freshly medium-roasted bag of coffee beans
a scale (it’ll make you more likely to stay consistent and reduce waste)
Last, but not least: even if I’ll be taking you through this process by mentioning ratios and amounts, don’t stress yourself too much if your espresso shots don’t come out super precise. The idea is to have fun and use this as a reference and learning framework.
1. Brew ratio
Let’s grind, tamp, lock in the portafilter and pull our first shot of espresso. We will use a 1:2 brew ratio as a starting point. This means that for every gram of ground coffee used, we want to extract 2 grams of liquid espresso in the cup.
In our case: 18 grams of coffee should yield 36 grams of espresso.
2. Extraction time
Try to time the espresso extraction as soon as you press the button or flip the switch or lever of your espresso machine. Based on my experience, it’s preferable to land in between 25 and 35 seconds extraction time. From here, through mindful tasting and sensory evaluation, we can apply further tweaks to bring the espresso in the sweet spot.
If your espresso extracts below or beyond the 25 - 35 seconds range, it means your grind setting is significantly off and you need to do some larger adjustments to bring it in check.
Without tasting, we can’t judge a coffee based on extraction time alone. Extraction time is influenced by how coarse or fine you grind, so use it as a rough guide and don’t get too stuck in it.


3. Taste your espresso & troubleshooting
Always try to keep an eye on the espresso flow. It can give you a good indication about your extraction, if it’s going according to plan or the grind size needs more work.
An under-extracted espresso
If the espresso tastes underwhelming, has low sweetness, sharp acidity and an empty, unpleasant aftertaste, and in addition the extraction runs quickly, it means you’re under-extracting.
What happens is: because the coffee particles are too large, there isn’t sufficient contact time between the water and the coffee, so you haven’t pulled enough flavor out of it. Also, the lack of sweetness will accentuate the sourness, which will be overpowering and at times unpleasant.
The way to improve it is to grind finer, then try pulling another espresso shot.
An over-extracted espresso
If the espresso displays a lot of bitterness and leaves a dry mouthfeel (this sensation is called astringency, similar to when you eat an unripe banana), and in addition the espresso takes very long to extract, it means you’re over-extracting.
In this case: the coffee particles are so fine that you start pulling unfavorable notes and flavors from the coffee.
The way to correct it is to grind coarser, then try again.
Grinder adjustments
At the beginning of the dial in process it may be required of you to make larger grinder adjustments. However, as you gradually make the coffee taste better, only small tweaks are needed to further bring the espresso in the sweet spot.
4. How should a good espresso taste like?
For me at least, a good espresso should:
taste smooth
have a nice balance between sweetness and acidity
have a pleasant and long-lasting aftertaste
Sweetness and smoothness will make the difference. So, you know you’re heading in the right direction when you taste an espresso which is sweeter and smoother versus other grind settings you’ve tried with the same coffee beans.
Needless to say, taste is subjective and everyone will experience acidity and bitterness in a different way, but don't get discouraged. Taste all of your espresso shots and analyze them mindfully. With time you’ll develop your palate and be able to distinguish the small differences when making adjustments during the dial in process.
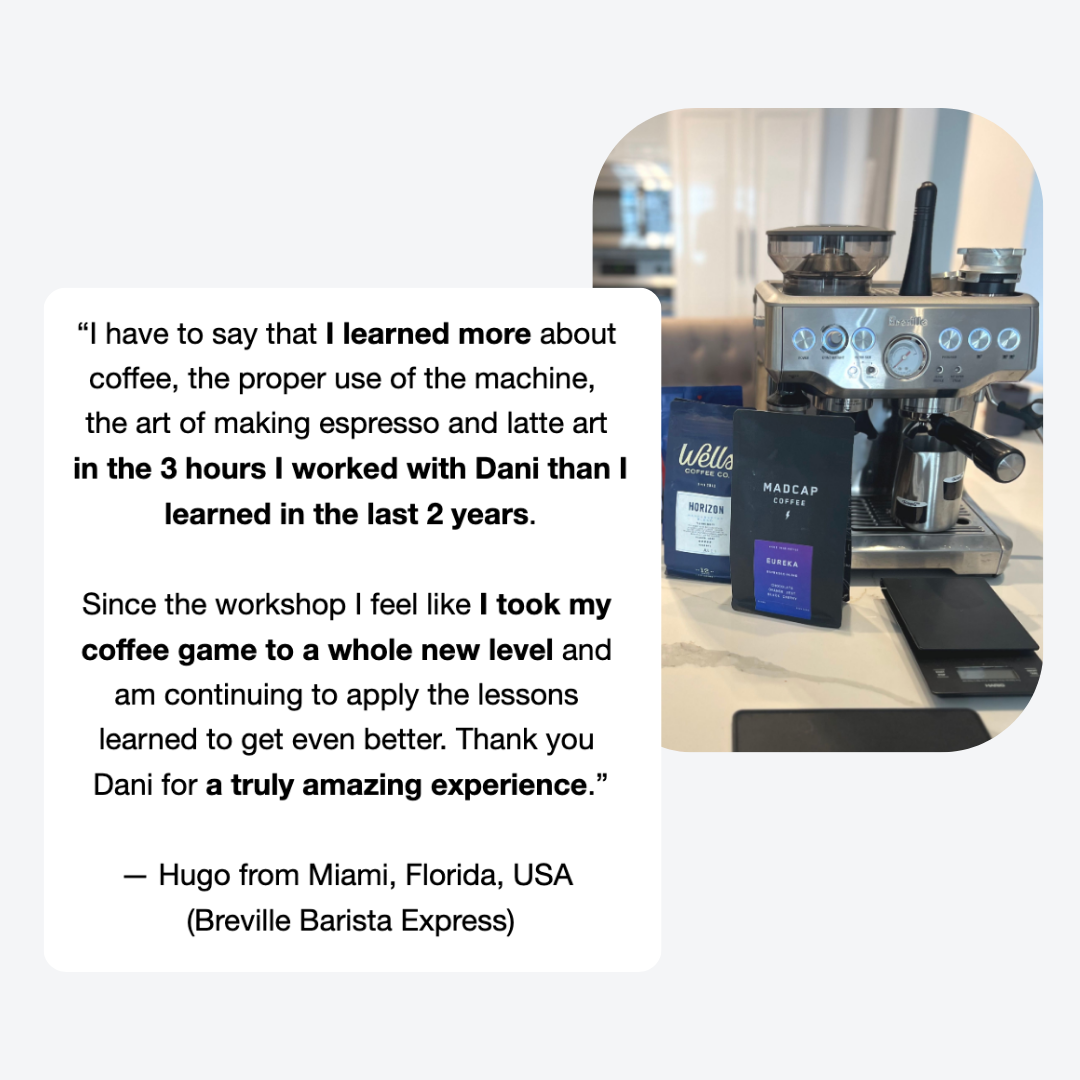
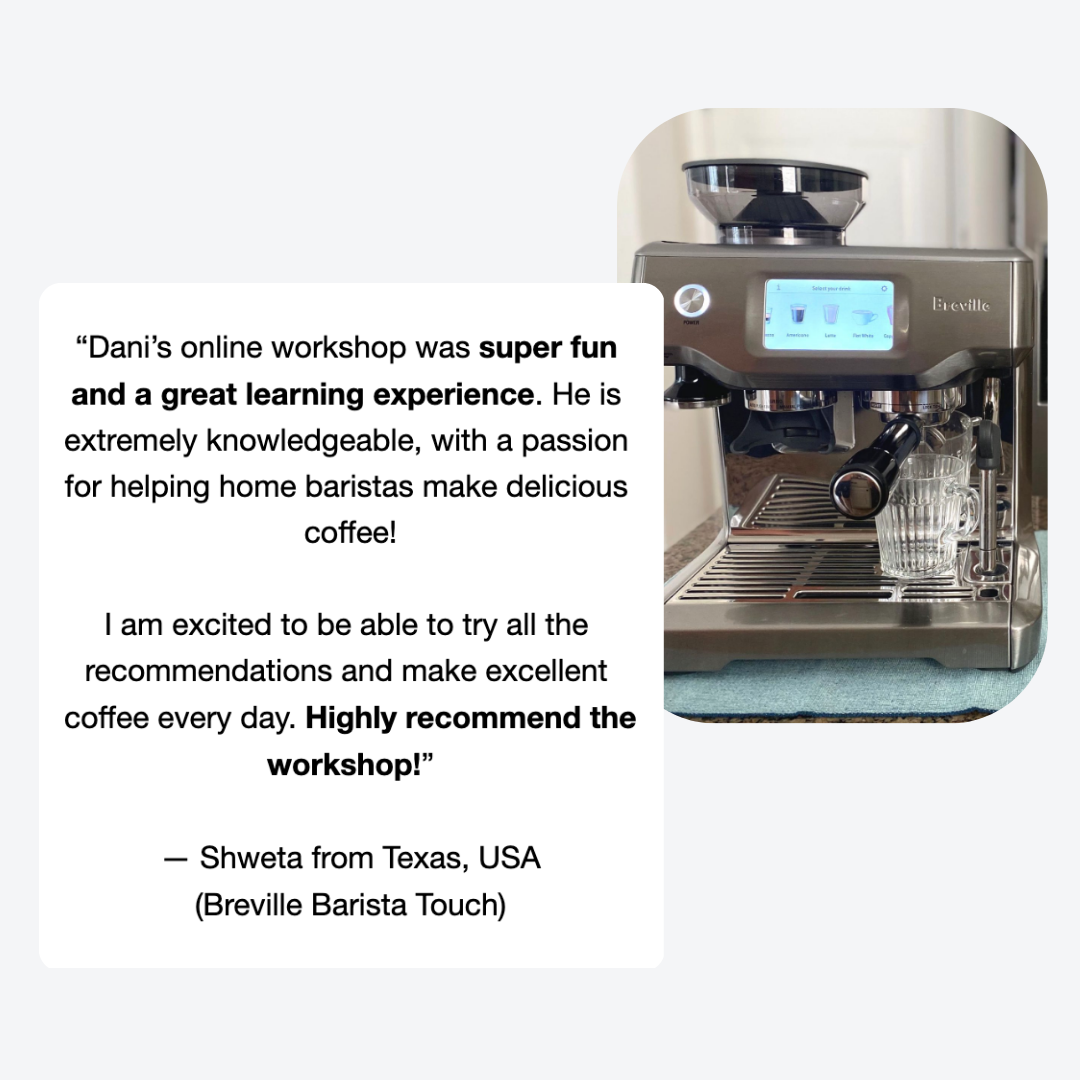
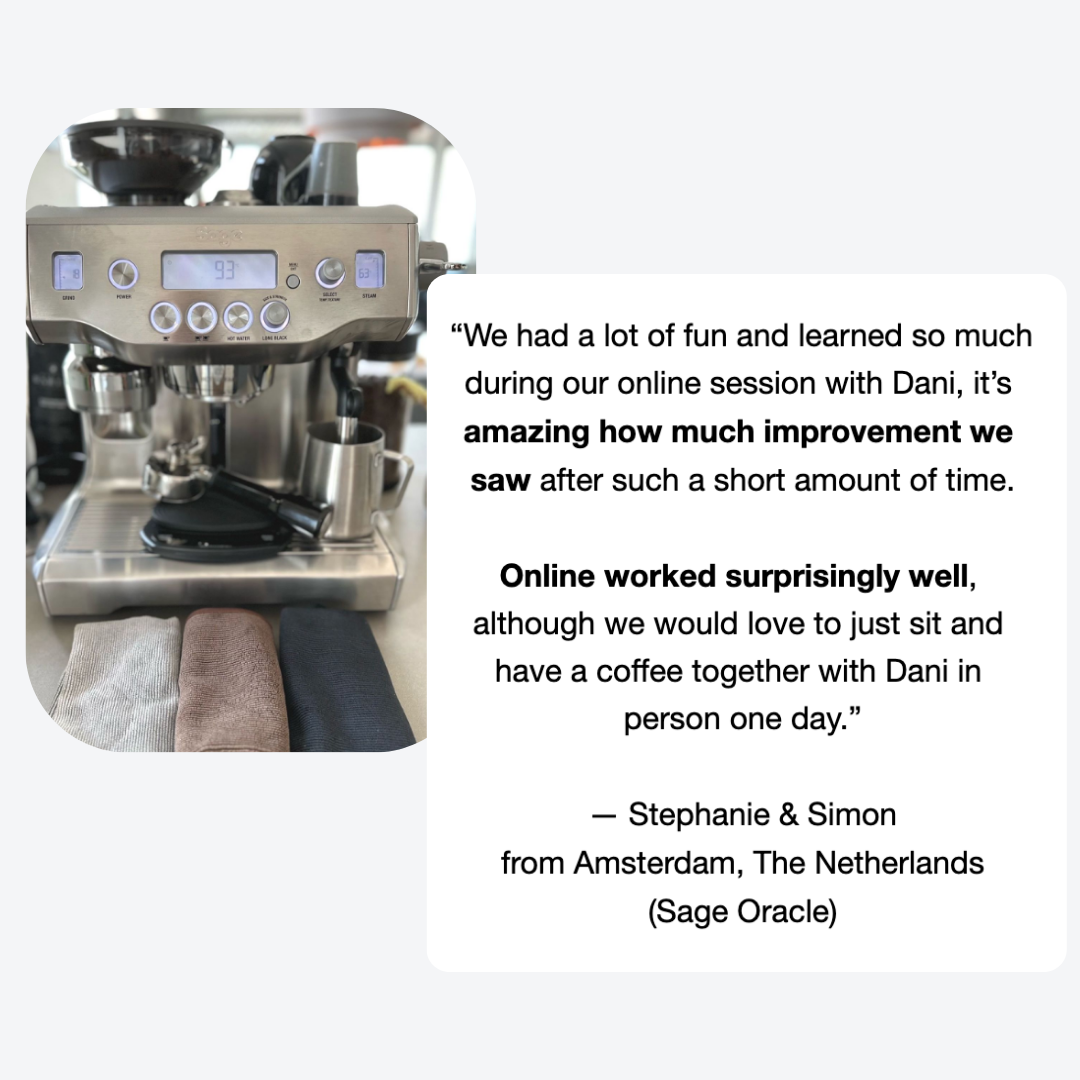
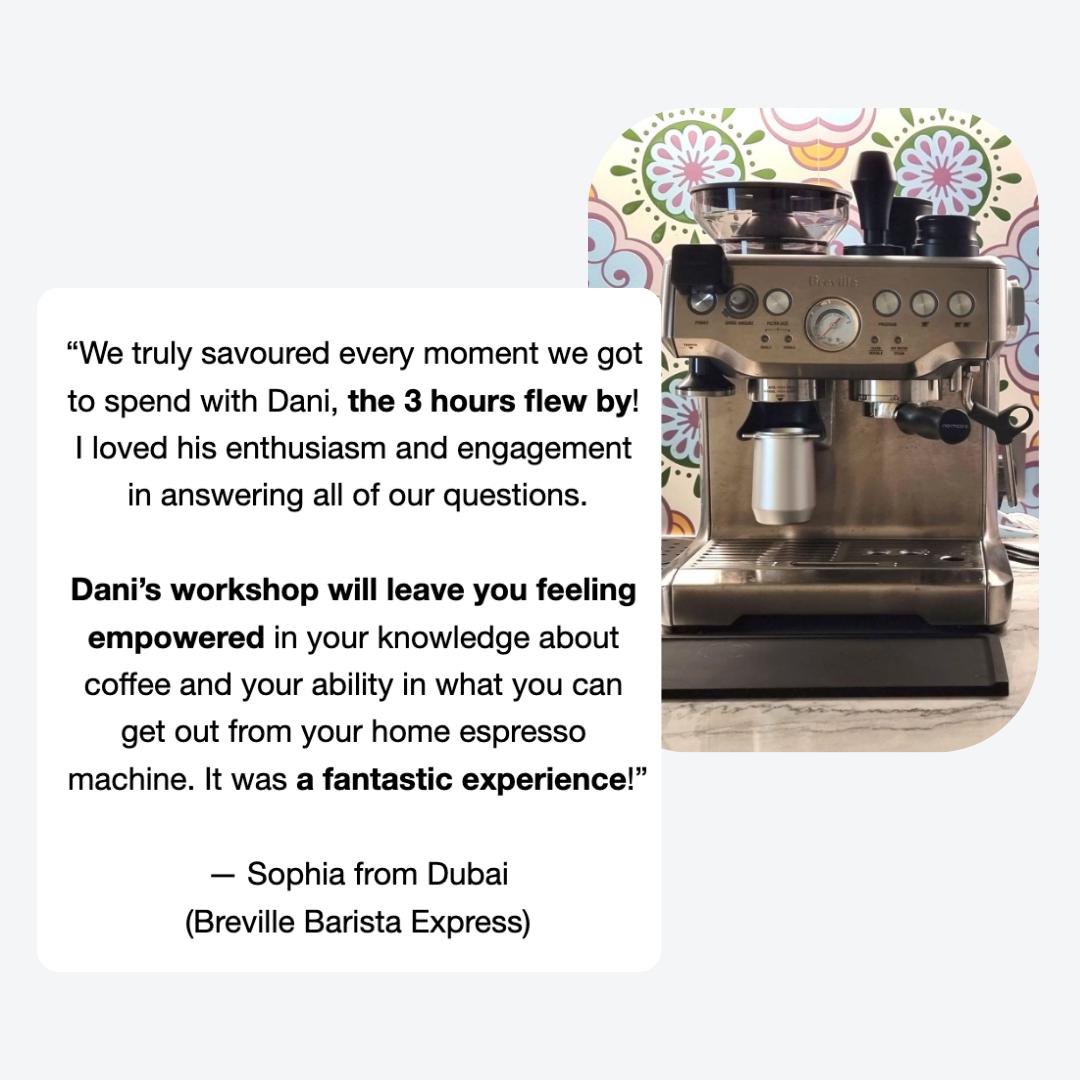
I hope you find these tips helpful and, if you’d like to dive deeper, you may consider our espresso and latte art home barista workshops. Happy brewing!