Espresso puck prep for home baristas
Improve the taste of your espressos and increase consistency

Based on my own experience as a home barista, as well as by working with hundreds of home baristas all around the world, time and time again I’m being reminded that behind every tasty shot of espresso lies a well-prepared coffee puck.
With this article, I’m sharing my puck prep routine at home, including tips, preferred tools and some troubleshooting advice. Hopefully you’ll find a few valuable insights to incorporate into your own routine.

Puck prep, what is it?
Puck prep refers to all the steps taken by the home barista from the moment the coffee is ground to the moment the portafilter is locked in the espresso machine.
Why is puck prep important?
First of all, the coffee puck is what remains in the basket after the espresso shot has been completed. Puck prep has a significant impact on the quality of the espresso shot, which makes it a critical step in the espresso-making process.
The main goal with puck prep is to distribute the ground coffee evenly across the basket and achieve a flat coffee bed. Doing so is what allows the water to flow evenly through the coffee puck and extract the flavours in a uniform way, producing a great tasting shot of espresso!
In other words, poor puck prep will most likely lead to the coffee coming out unevenly i.e. channeling, when a large amount of water travels through one specific area of the coffee puck, the path of least resistance, instead of doing so evenly. That’s only going to lead to a subpar shot of espresso.


Espresso puck prep in 3 simple steps
By paying close attention to a few key steps and with a relatively small investment in a few tools, a well-prepared coffee puck will improve the taste of your espressos and increase consistency.
I always like to keep things simple, yet impactful for home baristas. This is why my espresso puck prep routine at home follows these 3 simple steps:
Grinding
Distribution
Tamping
1. Grinding
While grinding my coffee, no matter if I’m working with an espresso machine with a standalone grinder or one with a built-in grinder, I always use a dosing funnel.
Why? As it sits on top of the basket, the dosing funnel helps keep the coffee grinds in the basket, with no messy spillovers or unnecessary waste. It also comes in handy if you plan on using a WDT tool next in your routine. Overall, it really makes your workflow much easier and cleaner.
2. Distribution
The next step is the uniform distribution of the coffee grinds in the portafilter basket.
Why? The goal is to achieve an even and flat mass of coffee grinds. This not only helps you execute a proper tamp, but also contributes to achieving a more even extraction of your espresso.
I find this to be one of the most impactful steps in my puck prep routine. This is where the WDT tool comes into play.
Using a WDT tool before tamping
Simply put, the WDT tool refers to a needle or a set of needles that you use to evenly distribute, de-clump and fluff up the coffee grinds in the espresso basket prior to tamping.
Why? To ensure an even distribution of coffee throughout the basket, from the bottom to the top layer: start at the bottom of the basket and lift the needles higher as you go. Subsequently, the portafilter can be tapped vertically, to settle everything into place and collapse the air pockets, before proceeding to tamp.
A WDT tool is particularly useful if you’re struggling with channeling or if you’re working with a grinder that produces a lot of clumps. De-clumping and fluffing up the coffee bed prior to tamping has been proven to reduce espresso channeling and increase espresso extraction. Some grinders tend to dispense loads of clumps, especially when adjusting to a finer grind. I find this happens with many entry-level and older grinders.
If you are using a standard (spouted) portafilter, it may be challenging to gather information as to how the extraction went. But, if you use a naked (bottomless) portafilter, by having the filter basket exposed during the entire duration of the espresso extraction, you can evaluate and correct your steps (the distribution of coffee in the basket and tamping techniques).
Note: While using my WDT tool, I like to use a dosing funnel on top of the portafilter, otherwise the coffee tends to overflow the basket.
If you don’t use a WDT tool before tamping
I recommend using these two manual distribution techniques:
Vertical distribution. Gently tapping the portafilter on a firm surface helps collapse the ground coffee into the basket, it eliminates air pockets and increases density. I find this particularly useful when you grind directly into the basket and you’re not using a dosing funnel. If the coffee sits high in the basket, by doing this step first, it helps reduce any spills before moving on to work on the horizontal distribution.
Horizontal distribution. Palm tapping is a simple way to achieve an even horizontal distribution. Tapping the portafilter sideways, with the palm of your hand, will push the coffee grinds to the edges and even out their density. This technique is a bit more delicate at the beginning, but you’ll get better and better with continuous practice.
Using a distribution tool
Many home baristas use a distribution tool at this stage, I’ve done so myself. However, I stopped using one and I keep getting consistent results, as long as I work with freshly roasted coffee beans, stick to my WDT tool and use a good tamper.
If you decide to use a distribution tool, please keep in mind that this tool can only adjust the top layer of the coffee bed. In order to be effective across the entire coffee puck, before you use a distribution tool, you first want to make sure the coffee grinds are even at the bottom of the basket (which you can do by using the WDT tool or the manual distribution techniques mentioned above).
3. Tamping
Tamping means compressing the coffee grinds in the portafilter basket, to create a dense and even coffee puck.
Why? The aim of tamping is not to apply a lot of pressure on top of the coffee bed, but to squeeze the air out of the coffee. Making sure you tamp evenly is very important for an even extraction. The task will get easier as you focus on being precise and practice mindfully.
In regards to how hard you should tamp, here’s the golden rule: keep the tamper level and press until the coffee stops moving down. Job done! After reaching a certain tamping pressure, the coffee is fully compressed. No matter how hard you try beyond this point, further pressure won’t impact the quality of your extraction, so there’s no need to overdo it.
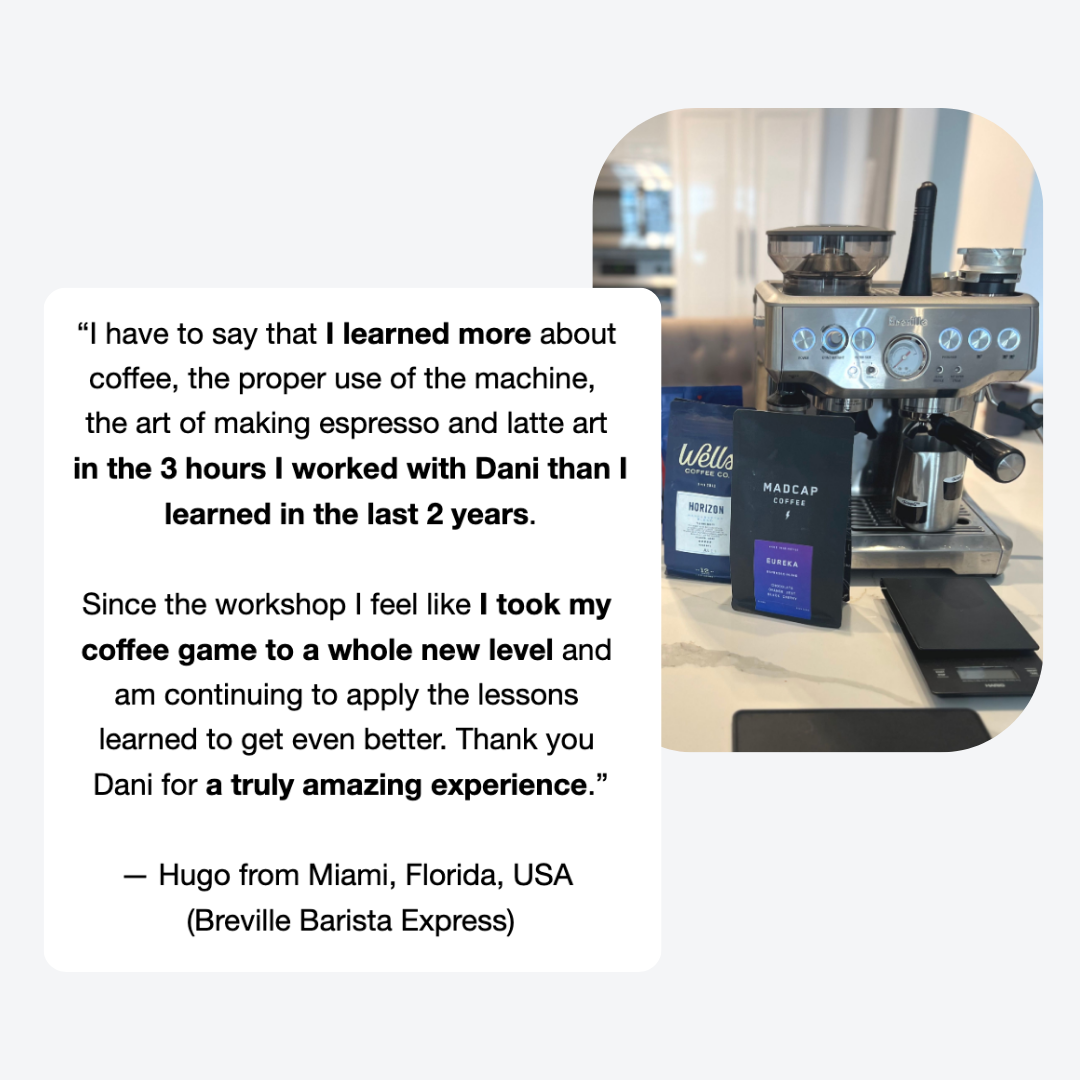
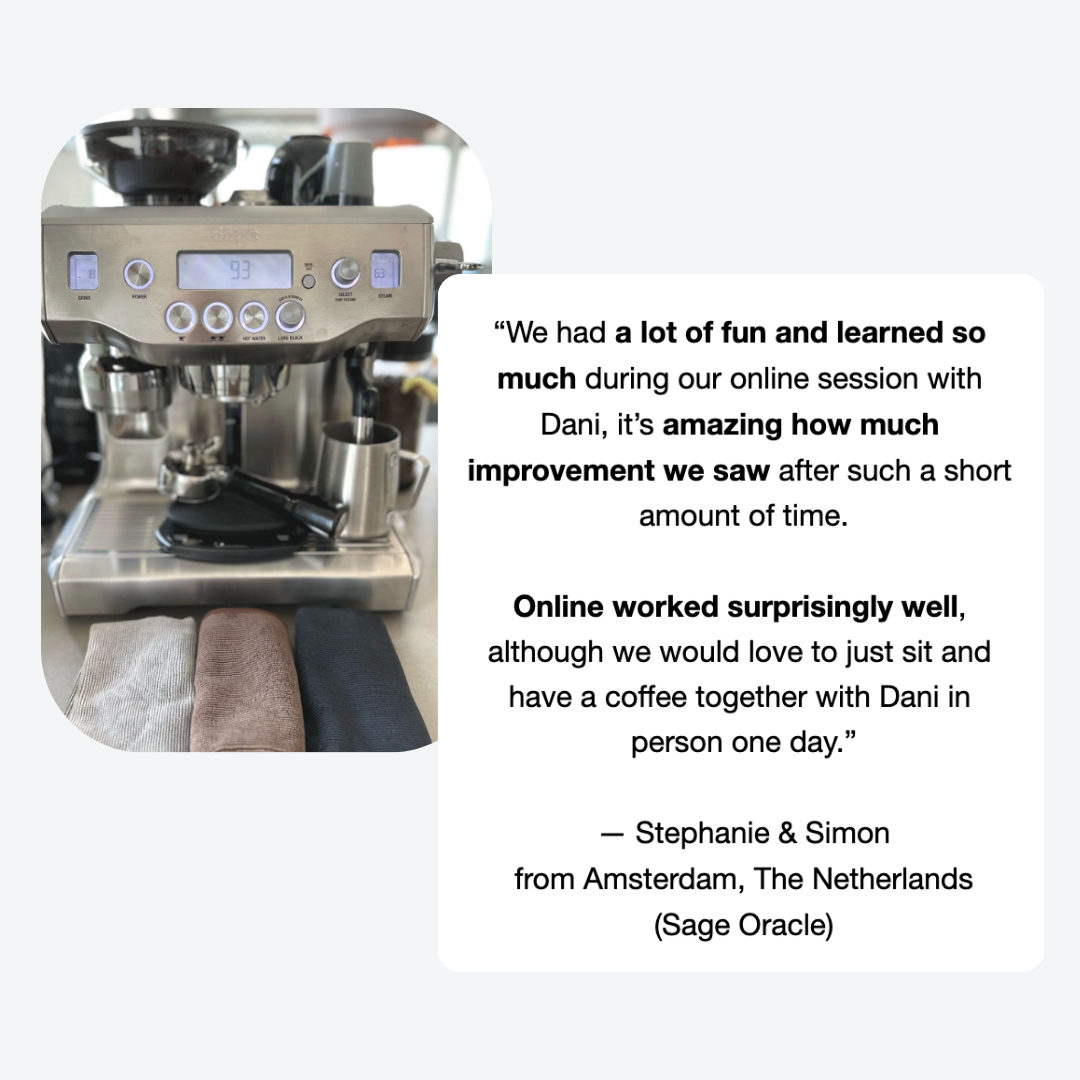
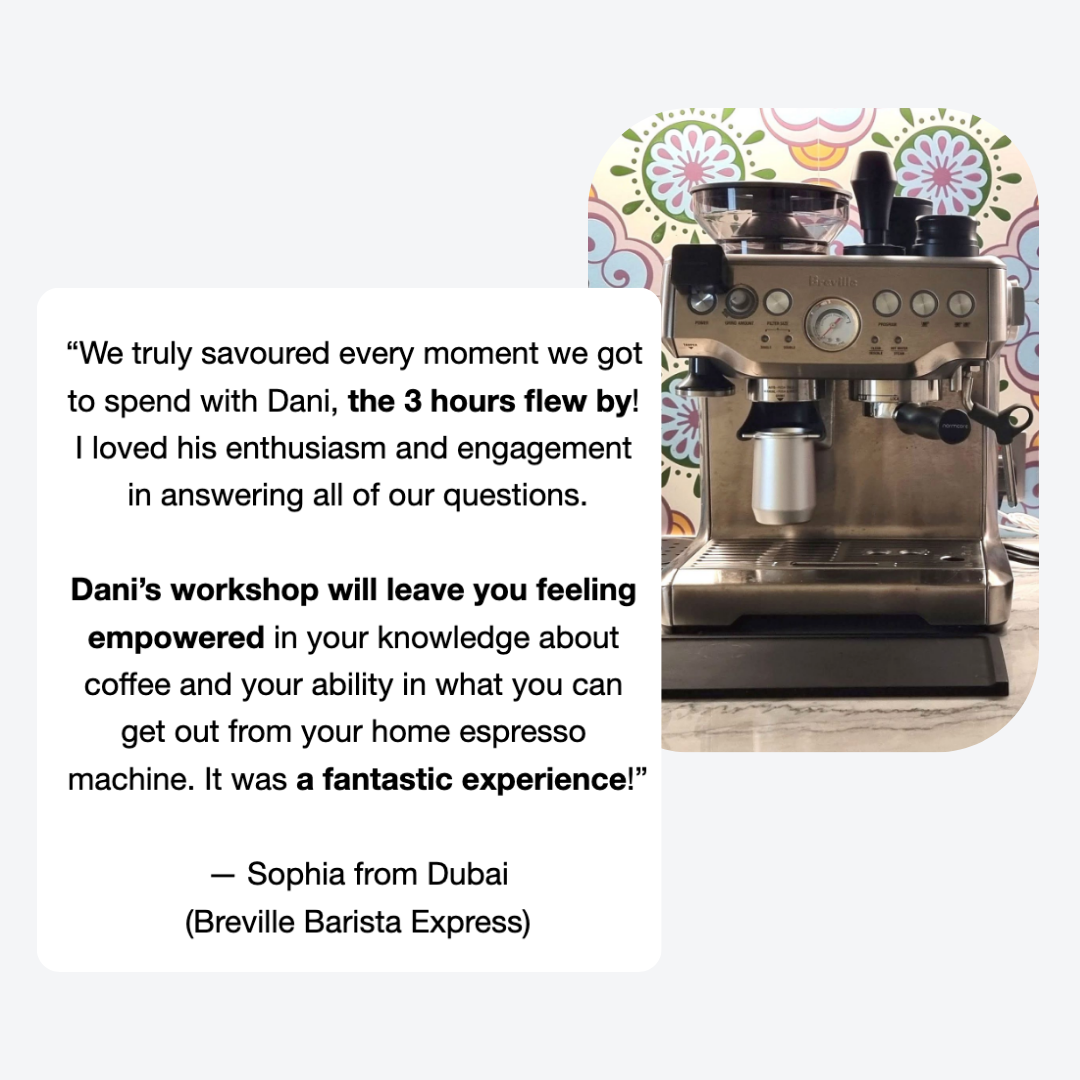
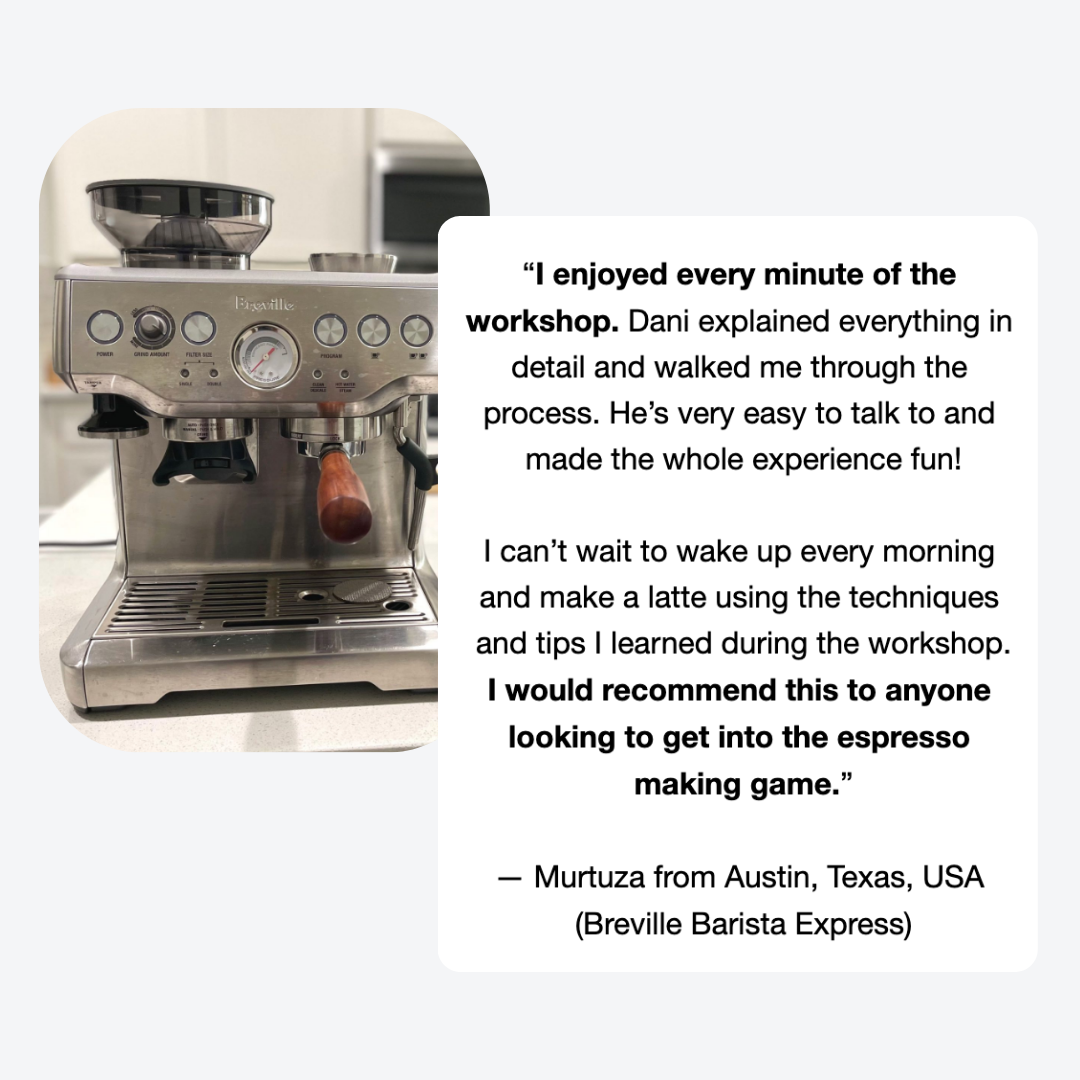
I hope you find these tips helpful and, if you’d like to dive deeper, you may consider our espresso and latte art home barista workshops. Happy brewing!