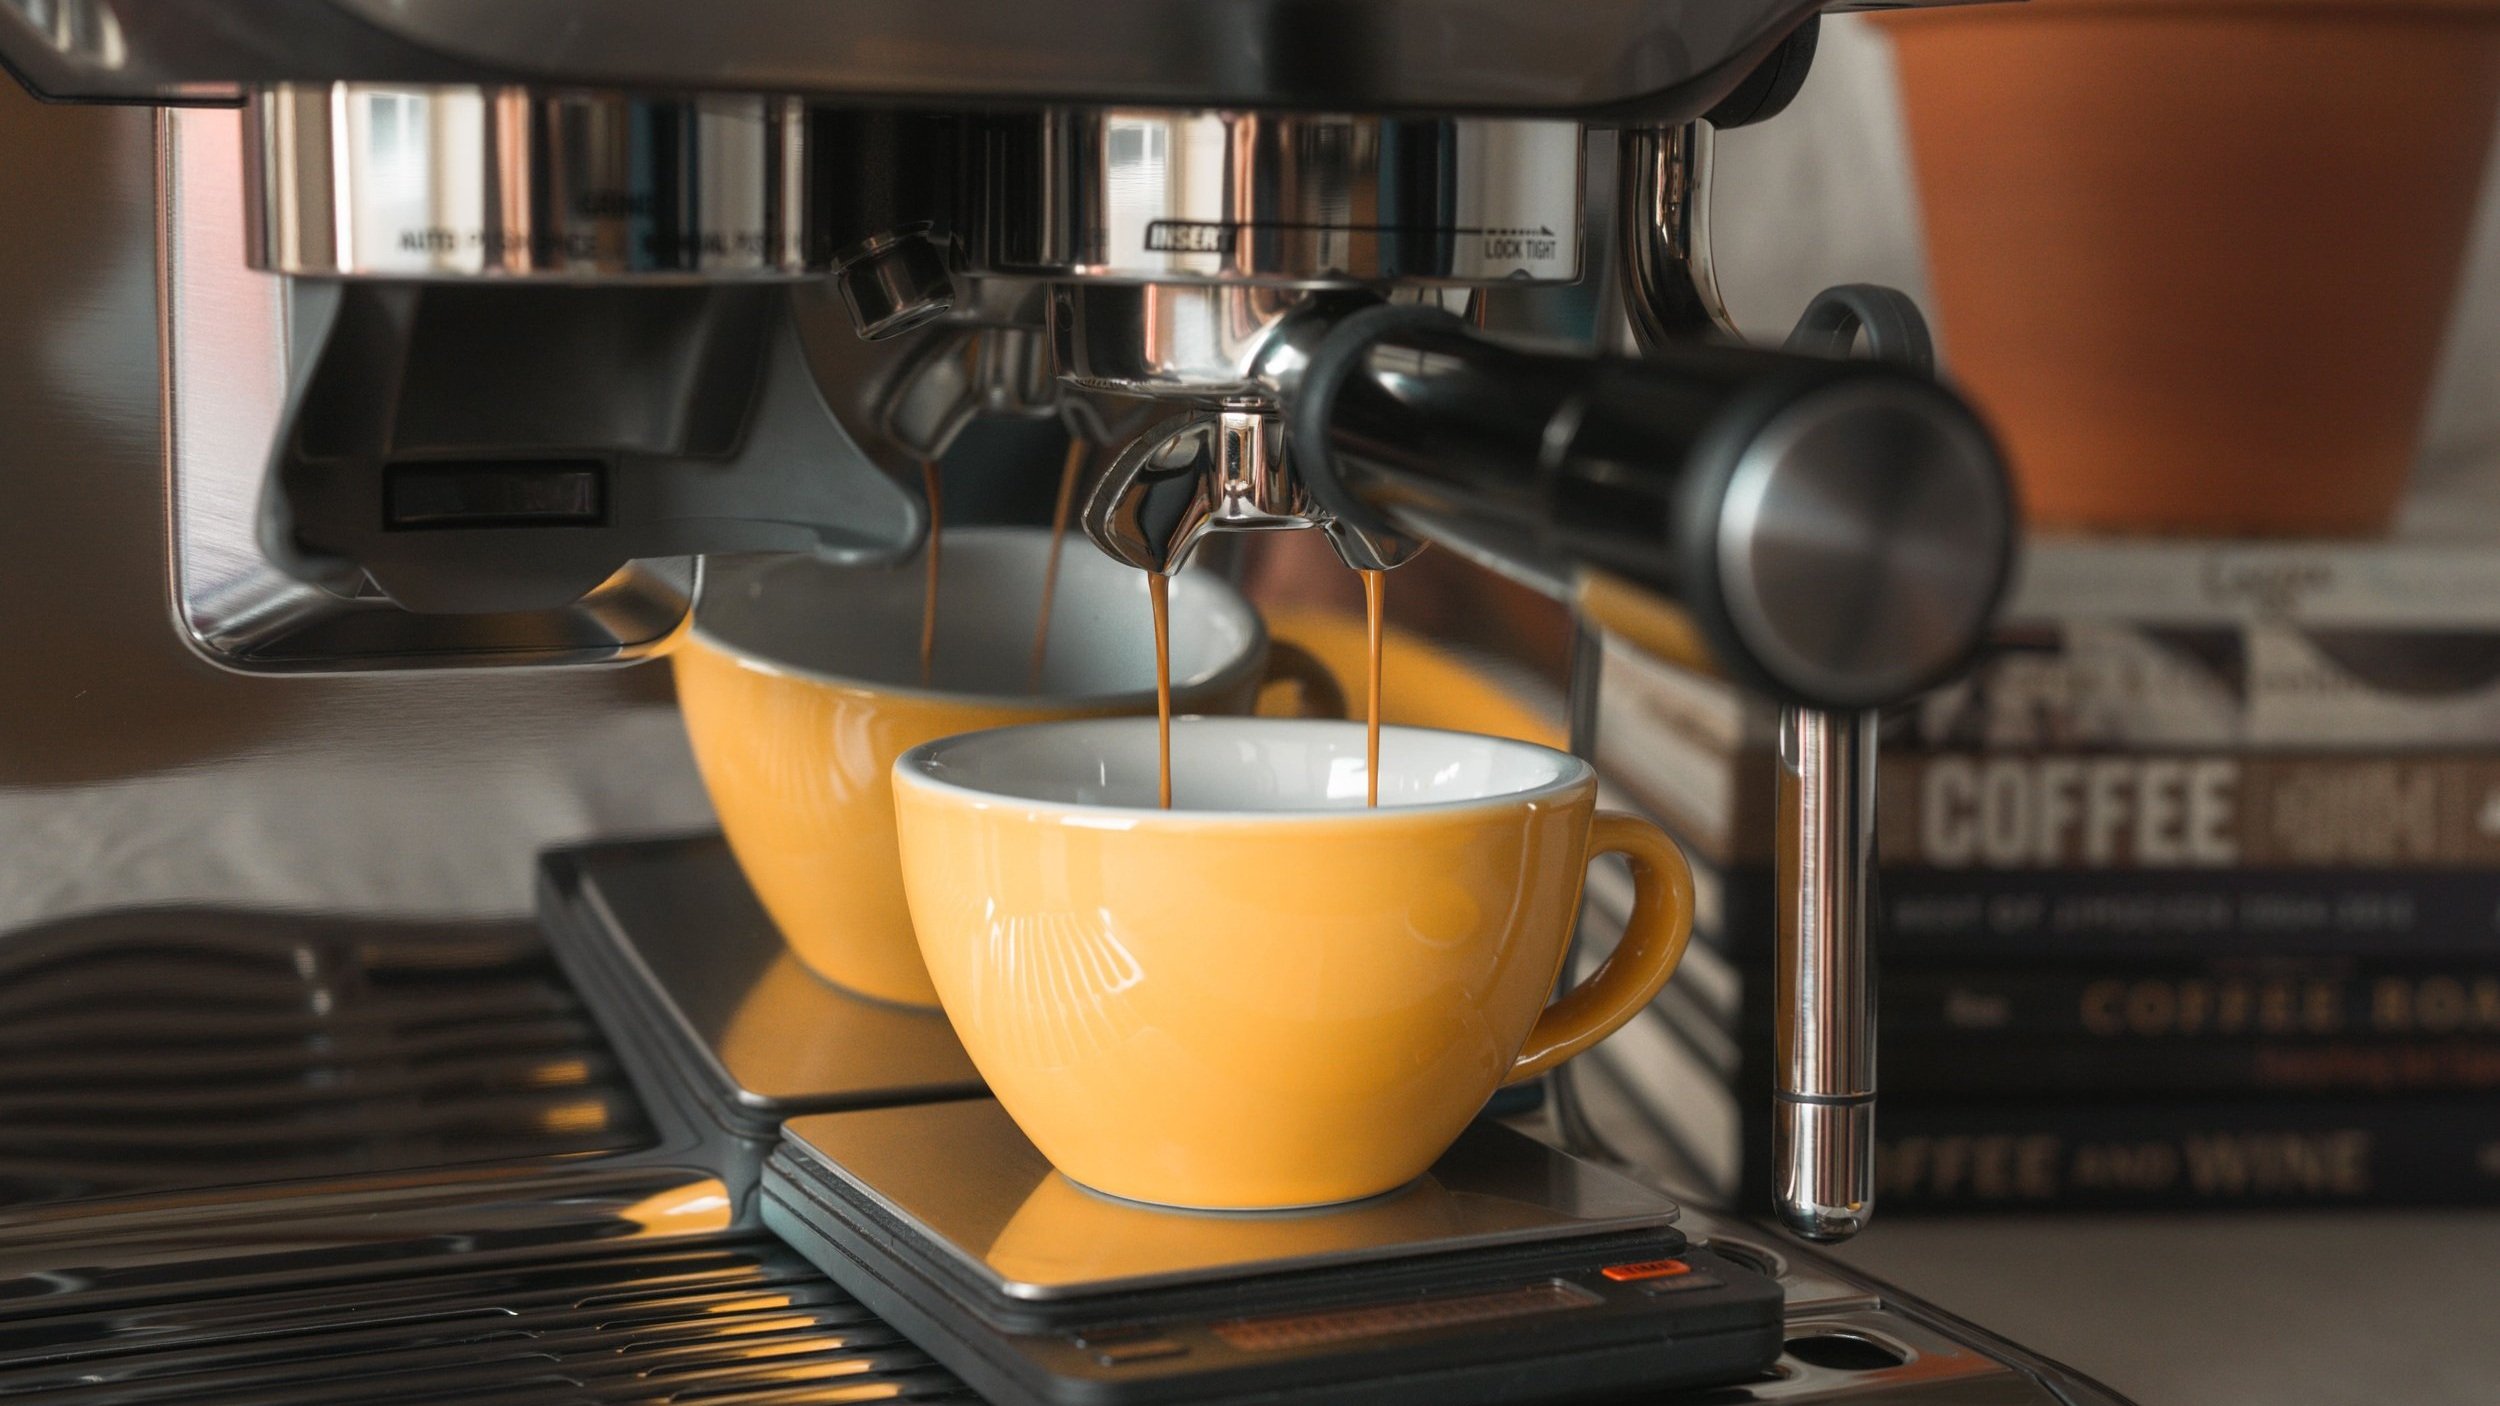
Espresso pre-infusion on a Sage or Breville home espresso machine
Does pre-infusion lead to a better tasting shot of espresso?
There are many ways in which you can improve the taste of your espresso at home and pre-infusion is one of them. Continue reading to learn more about:
What exactly is espresso pre-infusion?
Does it improve the quality of an espresso?
A step-by-step guide on how to apply pre-infusion when making espresso on a Sage or Breville home espresso machine.
What exactly is espresso pre-infusion?
In the simplest of terms, pre-infusion in espresso making involves a short period of low brewing pressure at the start of the shot. Practically, the bed of ground coffee is gently soaked before applying the full brewing pressure.
Does pre-infusion improve the quality of my espresso?
Definitely! Pre-infusion allows the coffee puck to absorb water before going into full brewing pressure. This helps the puck to become evenly wet, which in turn makes the espresso extraction more uniform.
You see, any dry pockets that remain in the coffee bed when brewing pressure kicks in, will resist the incoming flow of water, which in turn can lead to uneven extraction and instances of channeling. Applying pre-infusion will eliminate these dry pockets and lead to a more even espresso extraction, and ultimately a better tasting shot of espresso.
How do I apply pre-infusion on a Sage or Breville home espresso machine?
If you own a Sage or Breville home espresso machine, you are able to apply a custom pre-infusion time by switching to Manual mode. I usually choose a pre-infusion duration between 8 and 10 seconds, but in your case that may depend on the grind size you’re using. Pre-infusion is more effective if the coffee puck becomes fully saturated, to the point where liquid espresso begins to be visible at the bottom of the basket.
A step-by-step guide on how to apply pre-infusion when making espresso on a Sage or Breville home espresso machine:
Step 1 – Press and hold the espresso button for the desired pre-infusion time
Step 2 – Release the espresso button to continue the extraction
Step 3 – Press again the espresso button to stop the extraction (once the ideal amount/yield of espresso has been achieved)
I hope you find these tips helpful and, if you’d like to dive deeper, you may consider our espresso and latte art home barista workshops. Happy brewing!

